Getting started
Install
Section titled “Install”Download an installer from the latest release. Genbeya comes in three variants of the same app; pick one:
| Variant | Pick it when | Differences |
|---|---|---|
| Electron | You want the most tested build. The safe choice | Ships its own Chromium, so it looks and behaves the same everywhere; the largest download (about 110 MB) |
| Tauri | You want a small, light install | About 8 MB; uses the system’s webview (WebView2 on Windows, WebKit on macOS and Linux). macOS: Apple silicon only |
| Deno Desktop | You like trying experiments | Experimental. No Terminal, and genbeya:// links must be pasted into the command palette. macOS: Apple silicon only |
| System | Electron | Tauri | Deno Desktop |
|---|---|---|---|
| Windows | -setup.exe | -setup.exe or .msi | .msi |
| macOS | .dmg, Apple silicon (arm64) or Intel (x64) | .dmg | .dmg |
| Linux | .AppImage | .AppImage, .deb or .rpm | .AppImage or .deb |
The variants install side by side, as “Genbeya”, “Genbeya Tauri” and “Genbeya Deno”, each with its own settings. A newer installer of a variant replaces the version you have installed. Runtimes compares them in detail.
The installers are not signed yet, so your system asks before running them the first time:
- Windows: when SmartScreen warns, choose More info → Run anyway.
- macOS: open the app the first time with right-click → Open, or run
xattr -dr com.apple.quarantine "/Applications/Genbeya.app"(orGenbeya Tauri.app,Genbeya Deno.app). - Linux: make the AppImage executable with
chmod +x Genbeya-*.AppImage.
Genbeya needs Git on the machine that holds the repository: this computer, the WSL distribution or the SSH server. To run Genbeya from source instead, see Development.
First start
Section titled “First start”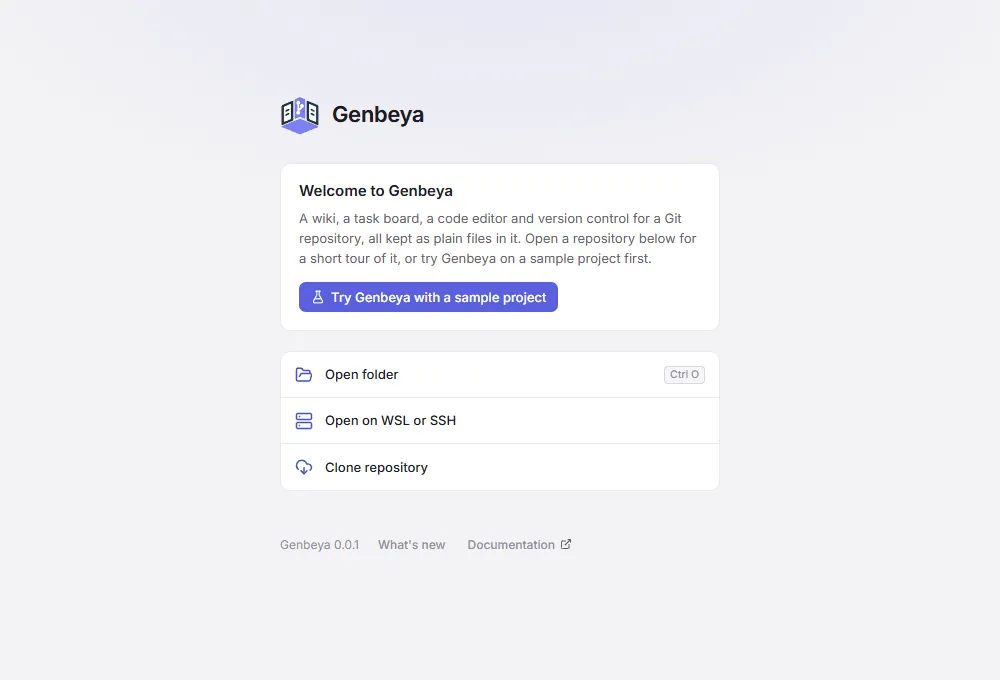
The start screen opens a repository, and on the first start it introduces Genbeya.
Try Genbeya with a sample project asks for a folder, creates the repository genbeya-sample in it and opens it: Pocket Weather, a small project whose wiki shows references, embeds, subpages and diagrams, with tasks in every state, an epic and a task template, a few commits and one change left to commit. Delete the folder when you are done, or keep what you like: like everything Genbeya writes into your repositories, the sample is under the MIT No Attribution License (MIT-0).
The first time a repository opens, the sidebar offers a tour: Show me around walks through the views, the wiki editor, the board, version control, the terminal, the command palette, settings and sharing, pointing at each. Try things while it runs; Esc or Skip tour ends it. Run Start the tour from the command palette (Ctrl+K) or Settings → Help to see it again.
After an update, What’s new lists what changed since the version you used last; Show me points at the new things. Settings → Help shows the version and opens the notes, the tour and this documentation.
Open a repository
Section titled “Open a repository”| From | How |
|---|---|
| This computer | Open folder (Ctrl+O). Any folder inside a Git working tree works. |
| WSL | Open on WSL or SSH → WSL, pick the distribution and enter a Linux path or Browse… for it. Picking a \\wsl$\… folder in the folder dialog also opens it through WSL. |
| SSH | Open on WSL or SSH → SSH, enter user@host (or a Host from ~/.ssh/config) and the repository path, or Browse… for it. |
| A remote URL | Clone repository, then choose where the clone goes — locally, on WSL or over SSH. |
On WSL and SSH, Git runs on the remote machine; Genbeya talks to it through one long-lived shell. See Hosts.
Browse… shows the folders on the remote machine, starting at the path you typed or at your home folder. Double-click a folder (or select it and press Enter) to go into it, Backspace goes up, and typing the start of a name selects it. Git repositories are marked; when opening, select one and choose Open to open it right away. You can also type a path into the field at the top (~ is your home folder) and press Enter. Hidden folders appear with Show hidden folders.
Recently opened repositories appear on the start screen and in the repository menu at the top of the sidebar. Genbeya reopens the last one on start; turn that off in Settings → App.
Make it yours
Section titled “Make it yours”A repository works without any setup: the wiki is docs/, the tasks are tasks/, and the board has the columns backlog, todo, in progress, review and done. Change any of that in Settings, which saves it to .genbeya.yml for the whole team:
name: Pocket WeathertaskPrefix: PW # new tasks are PW-1, PW-2, …statuses: [todo, in-progress, review, done]types: [feature, bug, docs, chore]Settings describes every key. Then read the Guide, starting with the Wiki, References and Tasks.